| EARTH ART AND FOODS |
| The cold weather brought us inside to work on the insulation. We used the rolled fiberglass insulation as they were substantially cheaper compared to the precut type. All one needs to cut the insulation to size is a measuring tape, utility knife and a hard surface to cut the insulation on. Staple the insulation on the inside of each stud and make sure the wiring runs in front of it. |
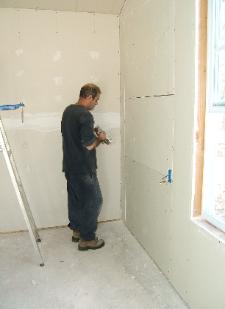
| Next was the dry wall installation. We used 1/2 inch drywall and cut them to size. Since it is not a good idea to have drywall jointing together around the doors and windows, we placed full sheets of drywall over the doors and windows and cut out the openings with a jigsaw. We chalk lined were the studs run and used 1-1/4" screws, 8" apart to install the sheetings. |
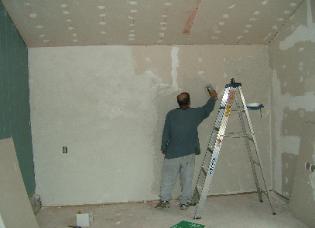
| After taping all the joints with fiberglass tape, we covered all the screws and the joints with plaster. |
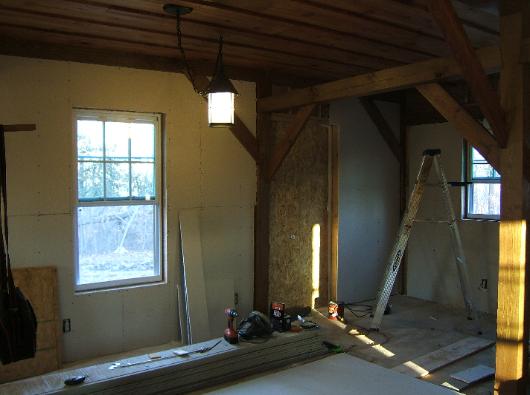
| Here is the finished wall. You may have to allow two or three days, depending on temperature and humidity before applying primer. |
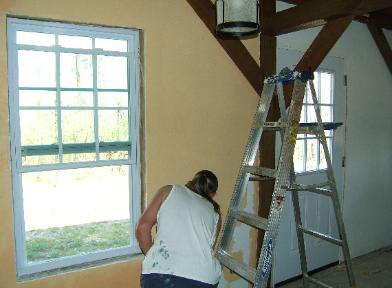
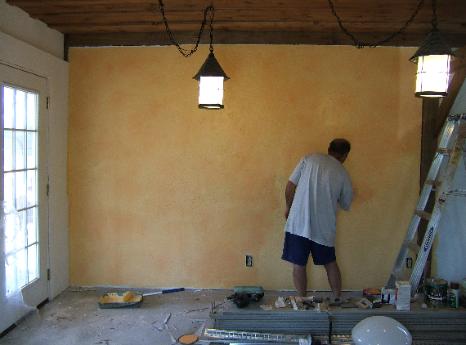
| Next, as Peggy applied the base color, I marbleized it with another color. We didn't want the walls to look like marble but rather an old mud wall you see in Venice Italy or in a French village |
| To marbleize with this method, you must ensure the base color is still wet as you apply the secondary color. If the base color dried, the secondary color will look like paint over paint as it will not fade into the base color. The idea is to do one small section at a time and take your time working the paint in. |
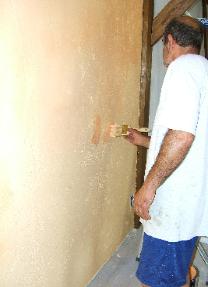
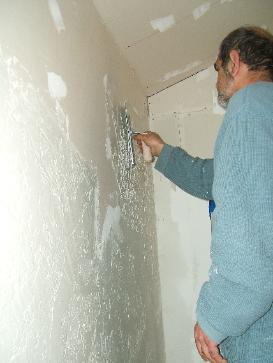
| Next was the plastering of the walls. After sampling several methods of plastering, we came up with a method that created a very unique pattern which we both liked. It took about twelve boxes of mud to finish the bottom shop and the addition to it. |

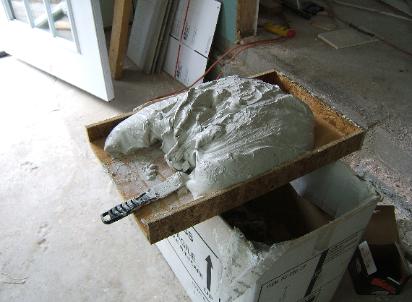
| We made this box to hold a box of mud. When you open the box, work the plastic that holds the mud around the box and pull it all the way down. Next, turn the box upside down and lift the box up. You should end up with all the mud on your box with nearly no waste. Mixing the mud as you go before applying it will provide a much better adhesion and evenness. |